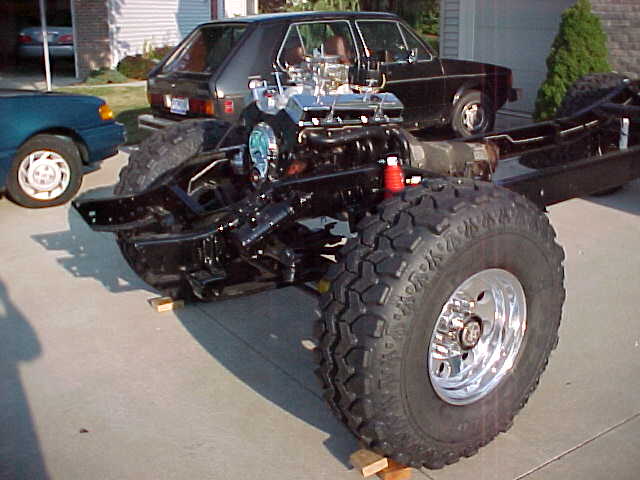
It was necessary to remove approximately 8-inches from the front frame rails. You can see the front frame horns that we later cut off just ahead of the front leaf spring forward shackle mount. Our "Sawz-all" worked great at making thes cuts. Fast and easily controlled.
We then weld-prepped the frame ends to get a good fit-up with the front bumper. We considered bolting the bumper to the frame, but due to shop limitations (no box brake to bend metal, and no drill press), we ended up going with permanently mounted bumpers.
We used floor jacks and two-by-fours to hold the bumper in place during visual fit-up.
Once we sighted-in the bumper we rallied a fiew friends to hold the hood over the front bumper to make sure we got the bumper at the right elevation and that the hood looked right coming off the top of the firewall. We also checked that we had good visual flow for the hood lines.
we made one height adjustment on the bumper, and tacked it in place with a stick welder.
Next we did the same thing on the rear bumper. Almost 12-inches were cut off the rear frame horns. The rear-most cross member had been removed for the body mount. To us, we wanted to adjust the length of the rear horns for a visually pleasing bumper fit, but we also wanted to stiffen the rear of the frame with the bumper. At 3/16" thick, the bumper was going to give us the strength we were after. We did three production-style weld passes on it so we wouldn't be afraid anytime we decided to put a trailer on our bumper hitch.
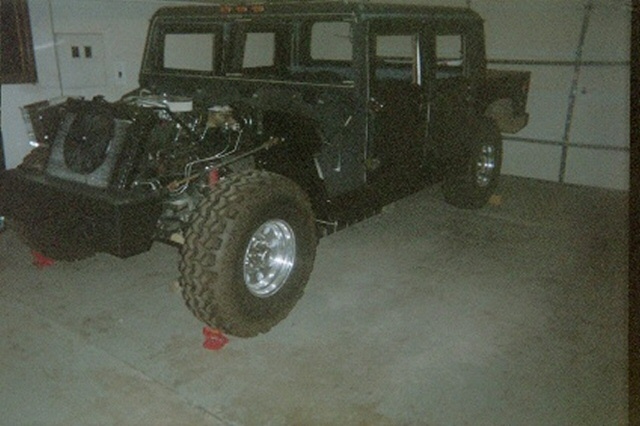
STEP SEVEN: Attach the Radiator and
Hood to the Frame
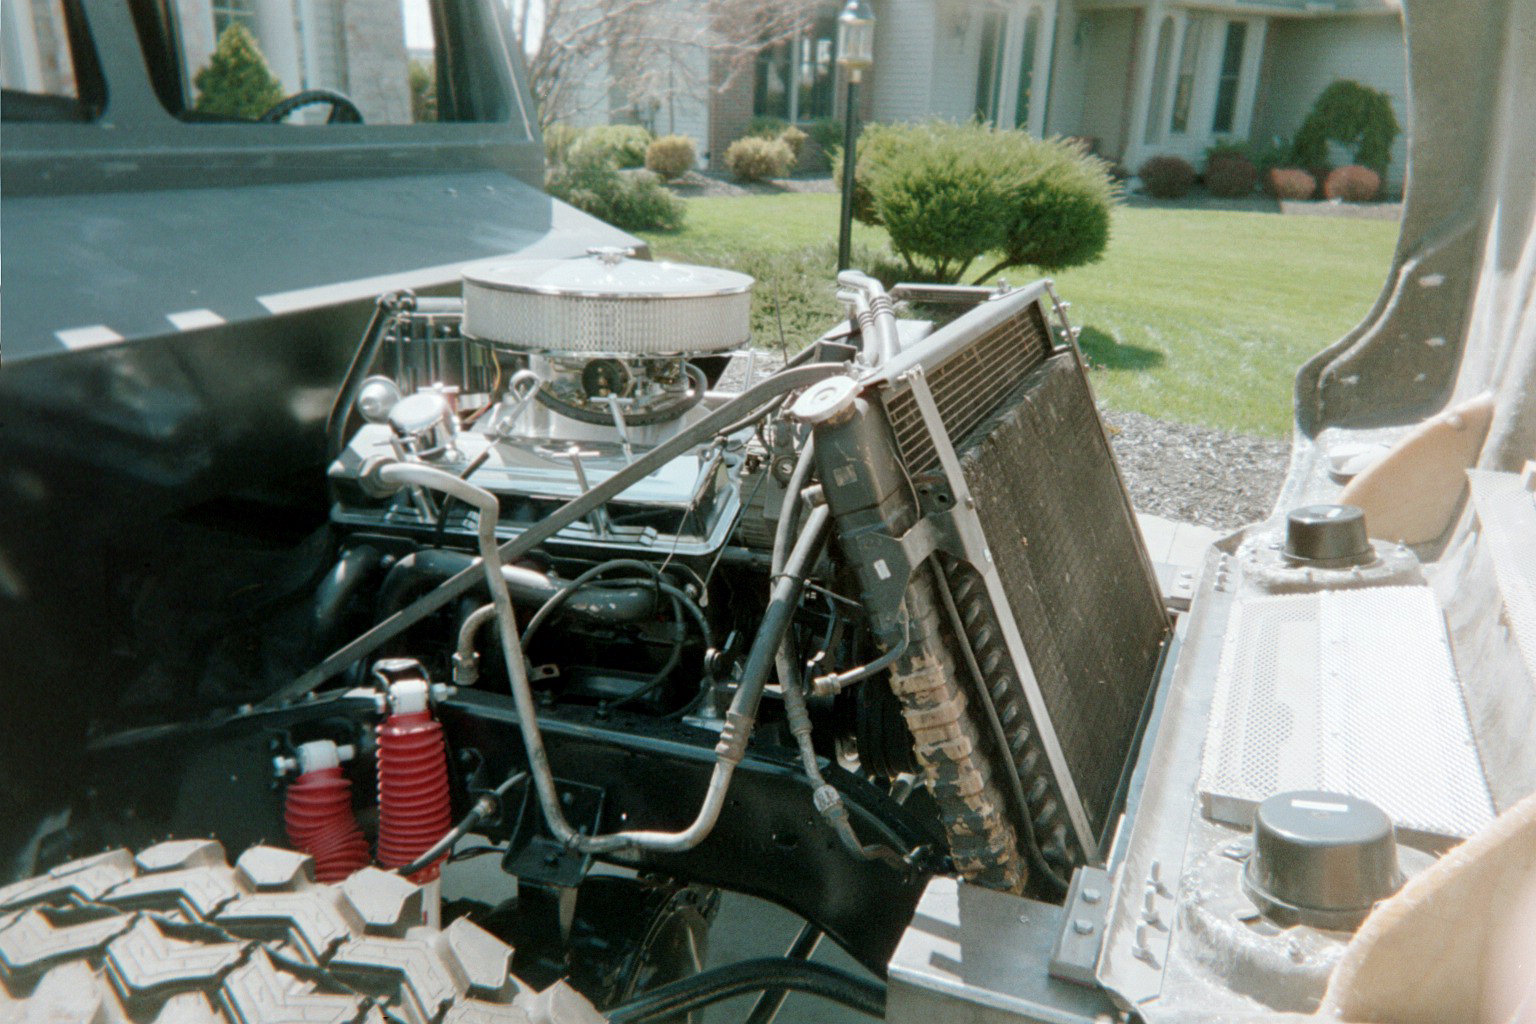
We bought an Urban Gorilla hood with our kit for two reasons: First, we had no idea how to find or buy an H1 hood, and second . . . we weren't doing an engine relocation so the radiator wasn't going to fit under the standard H1hood location. In retrospect, we would probably go with a stock H1 hood and repair/modify it as necessary. Maybe next time!?!
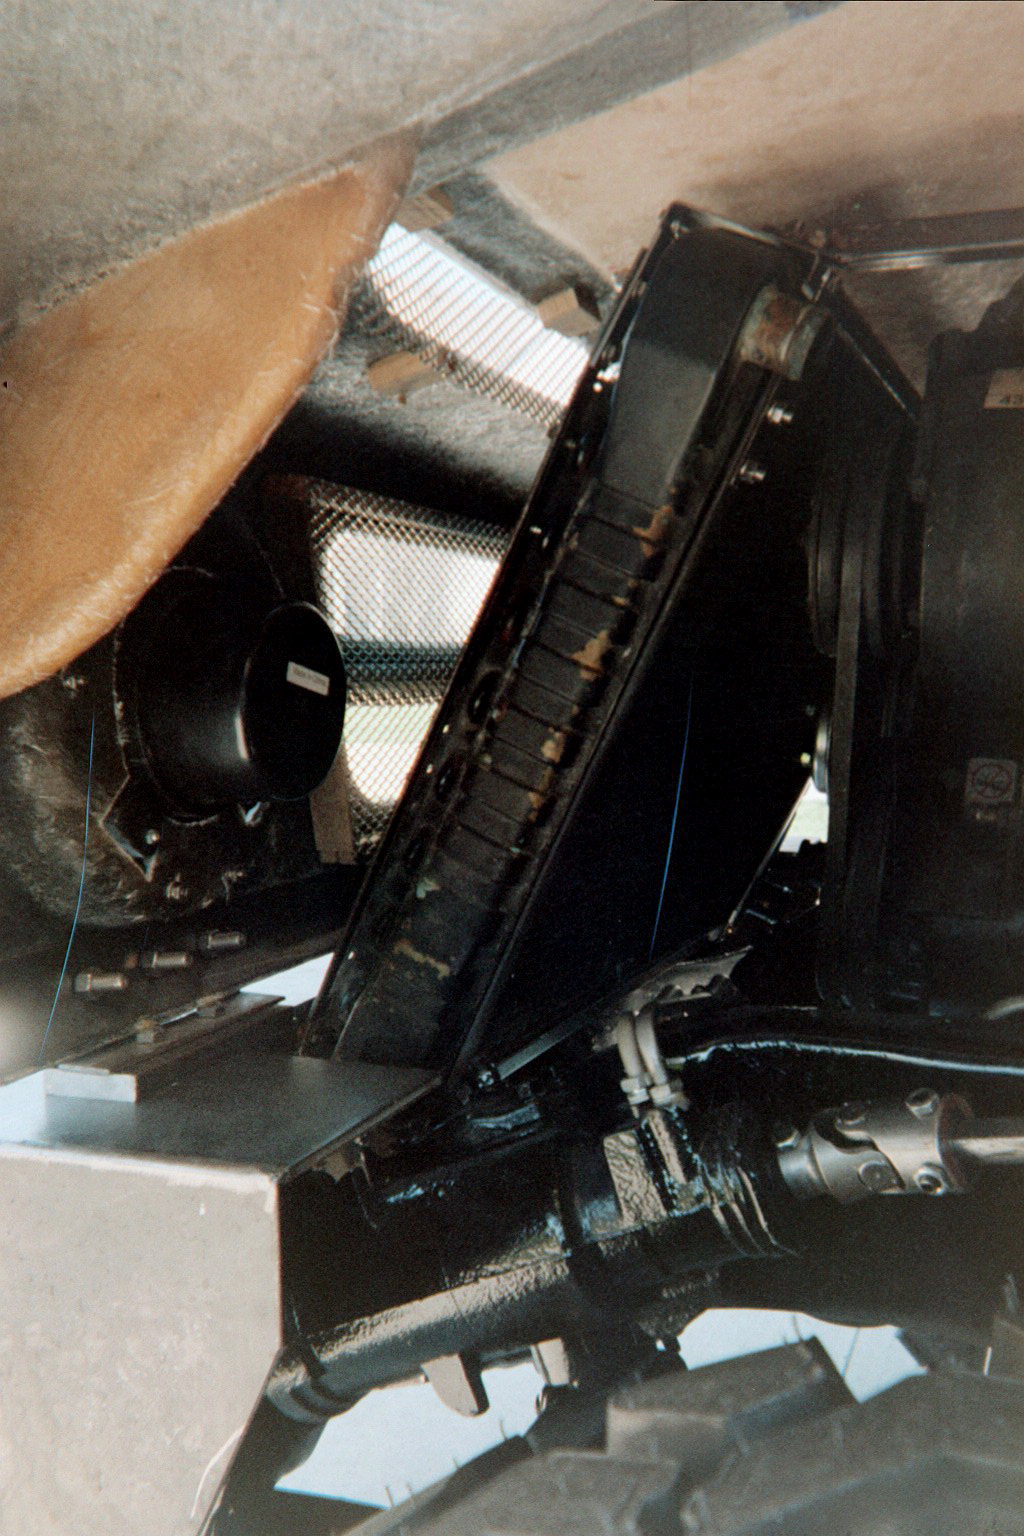
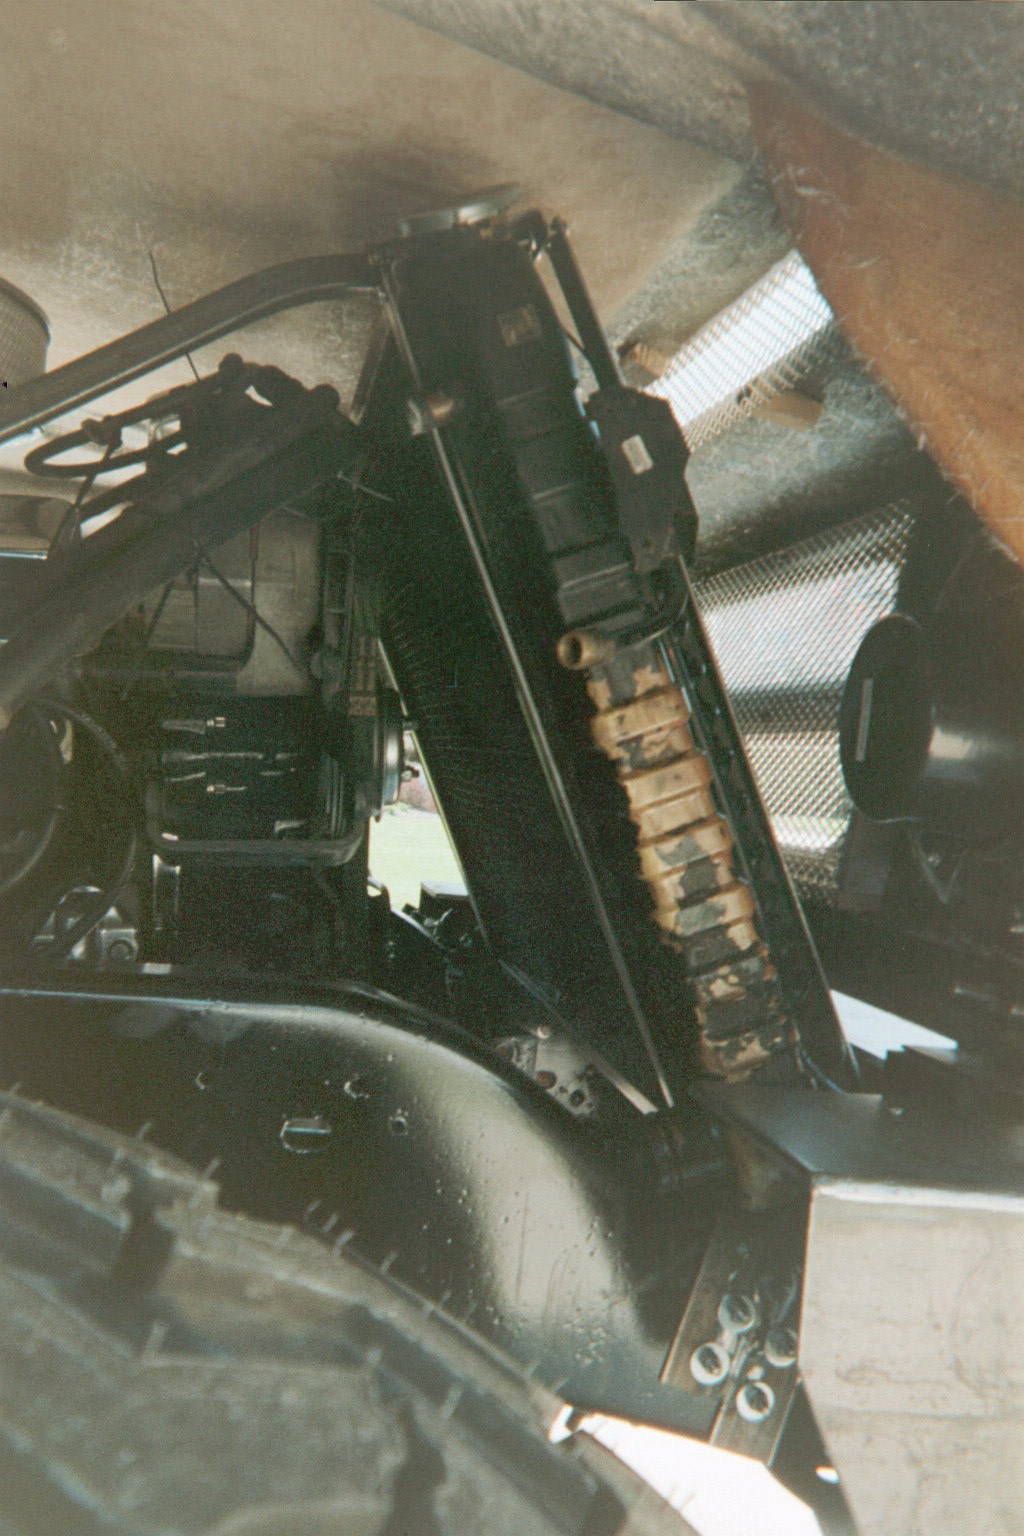
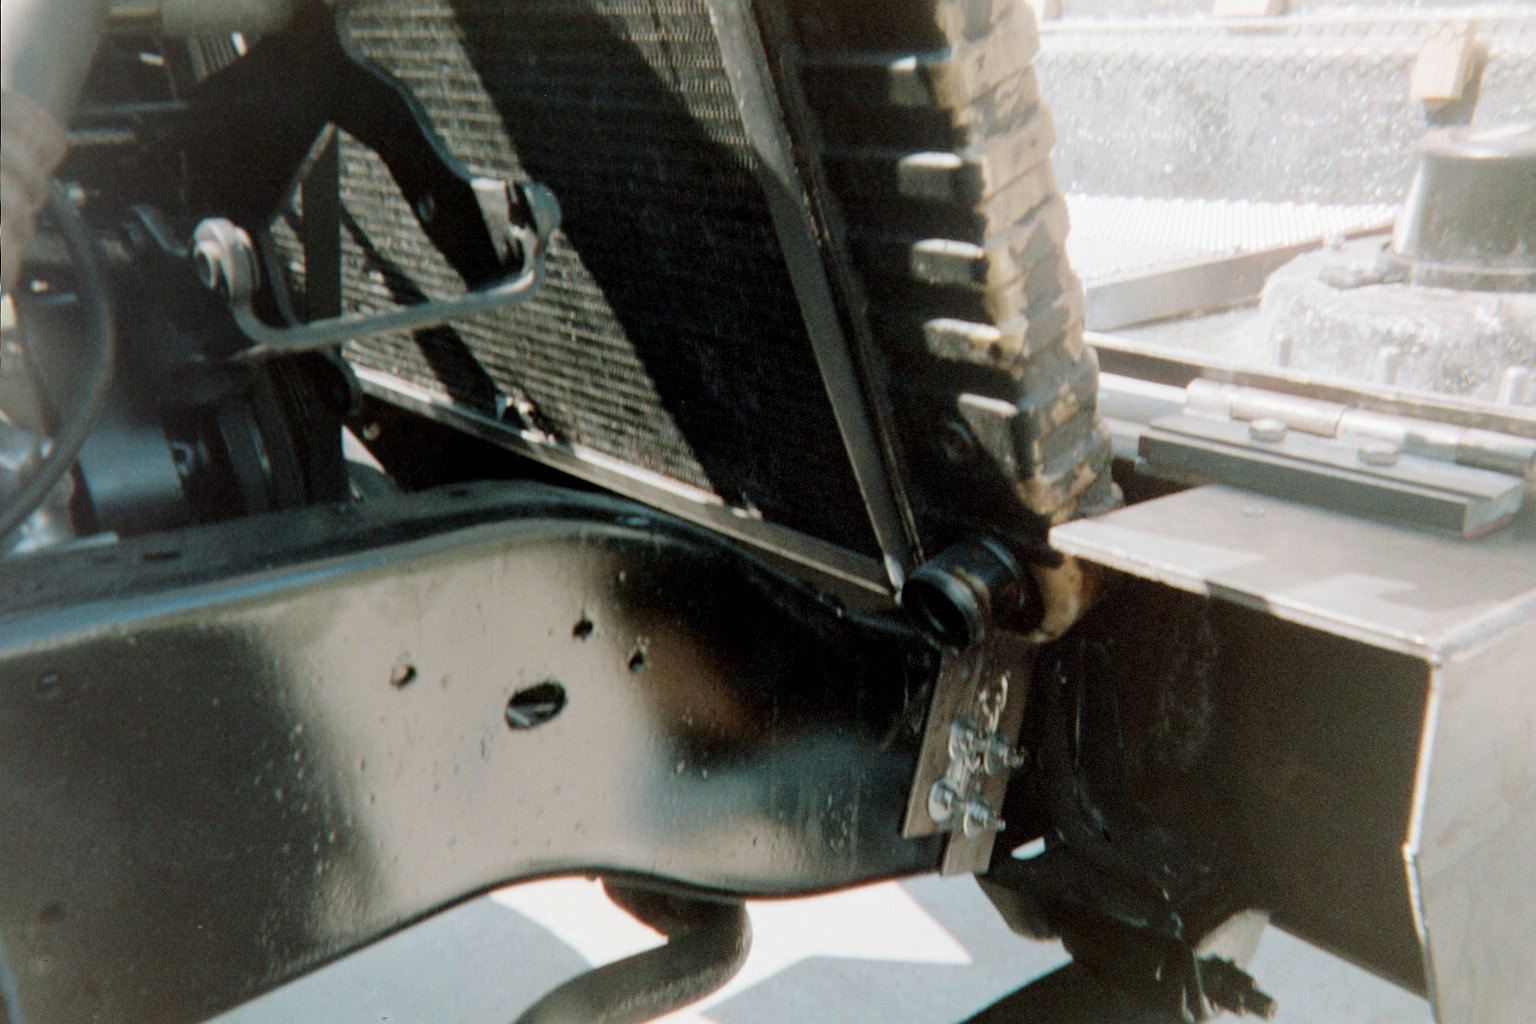
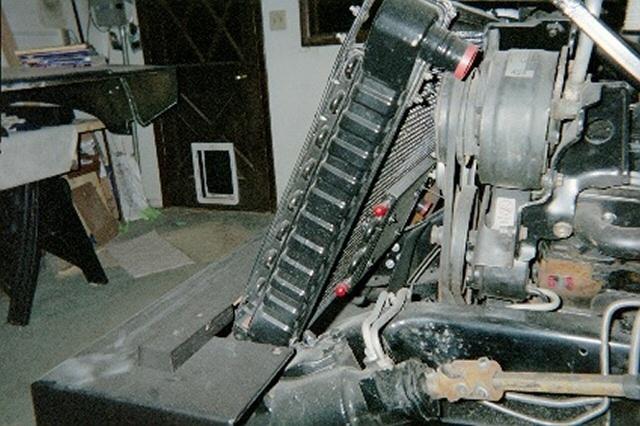
The original donor radiator was used to design and mock-up a radiator frame that would fit in our project's configuration. With the old radiator, we used the Urban Gorilla-provided radiator top and bottom plate, and two 3/4-inch square tubes with 90-degree bends to form the two rear braces.
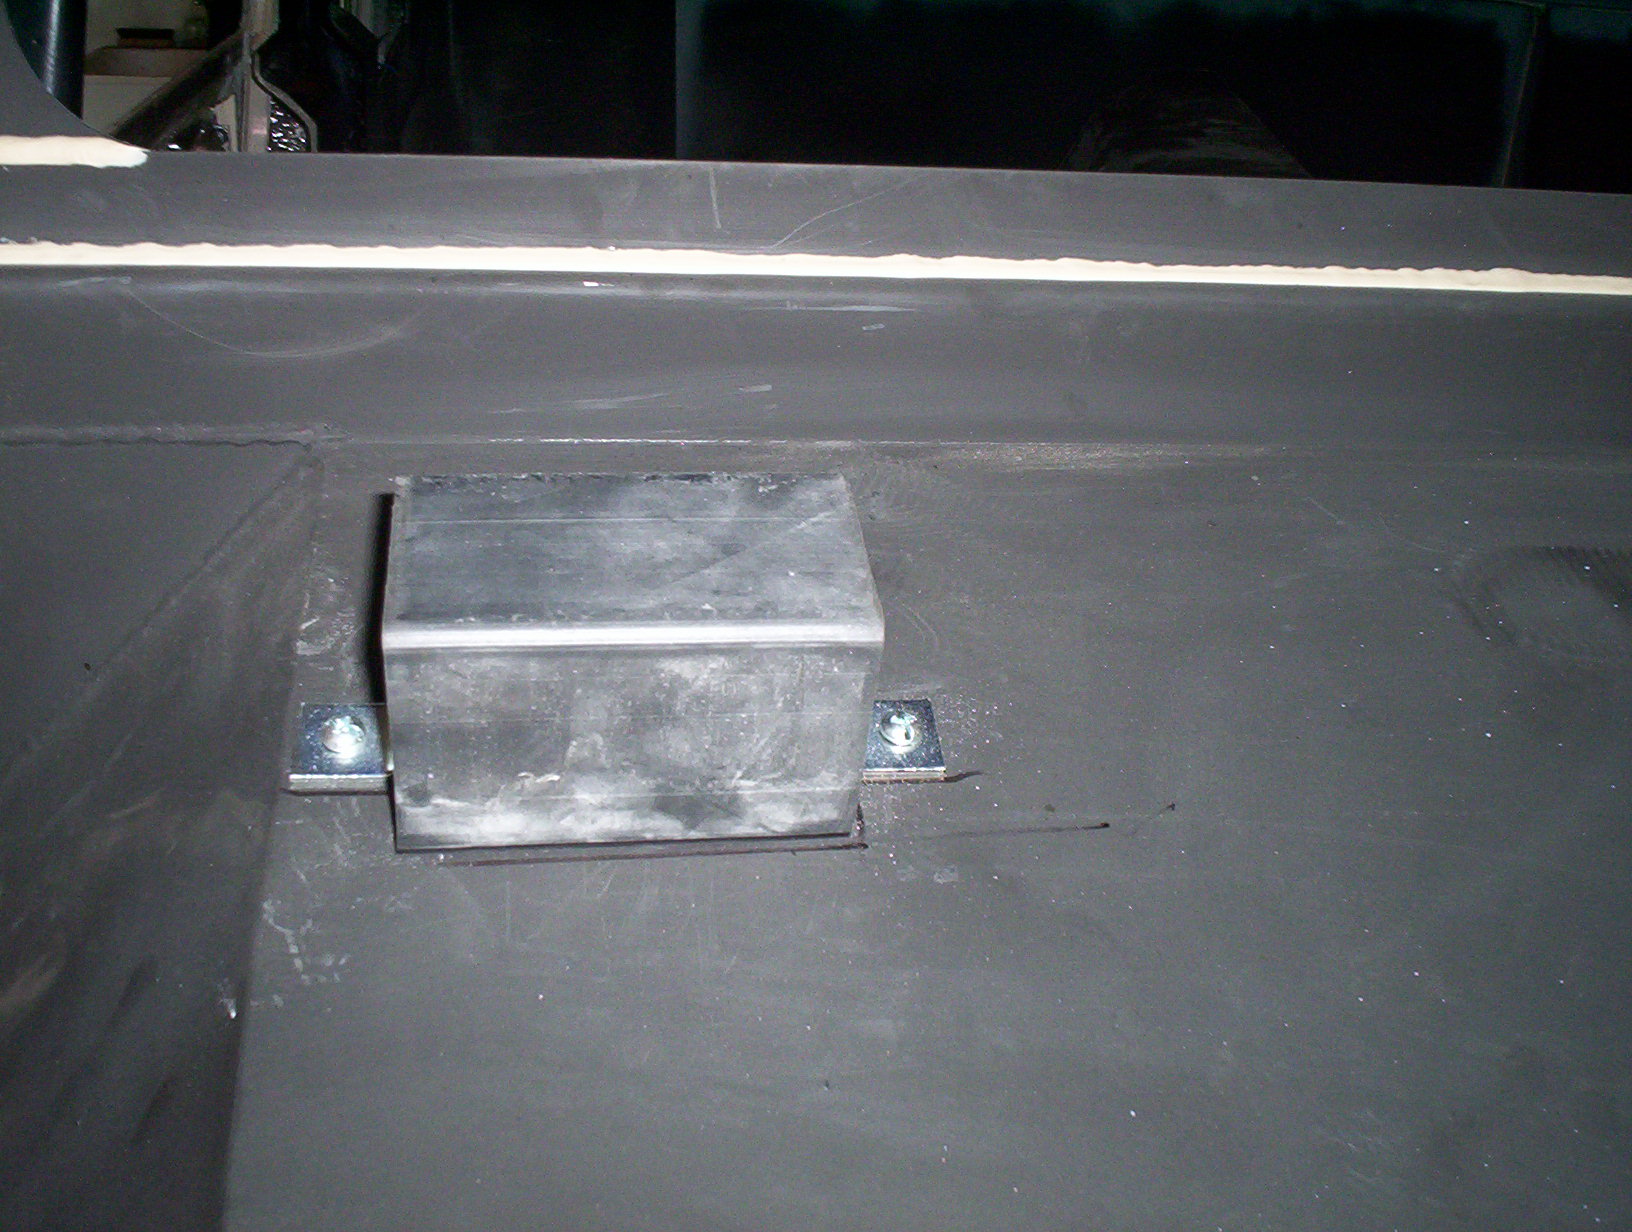
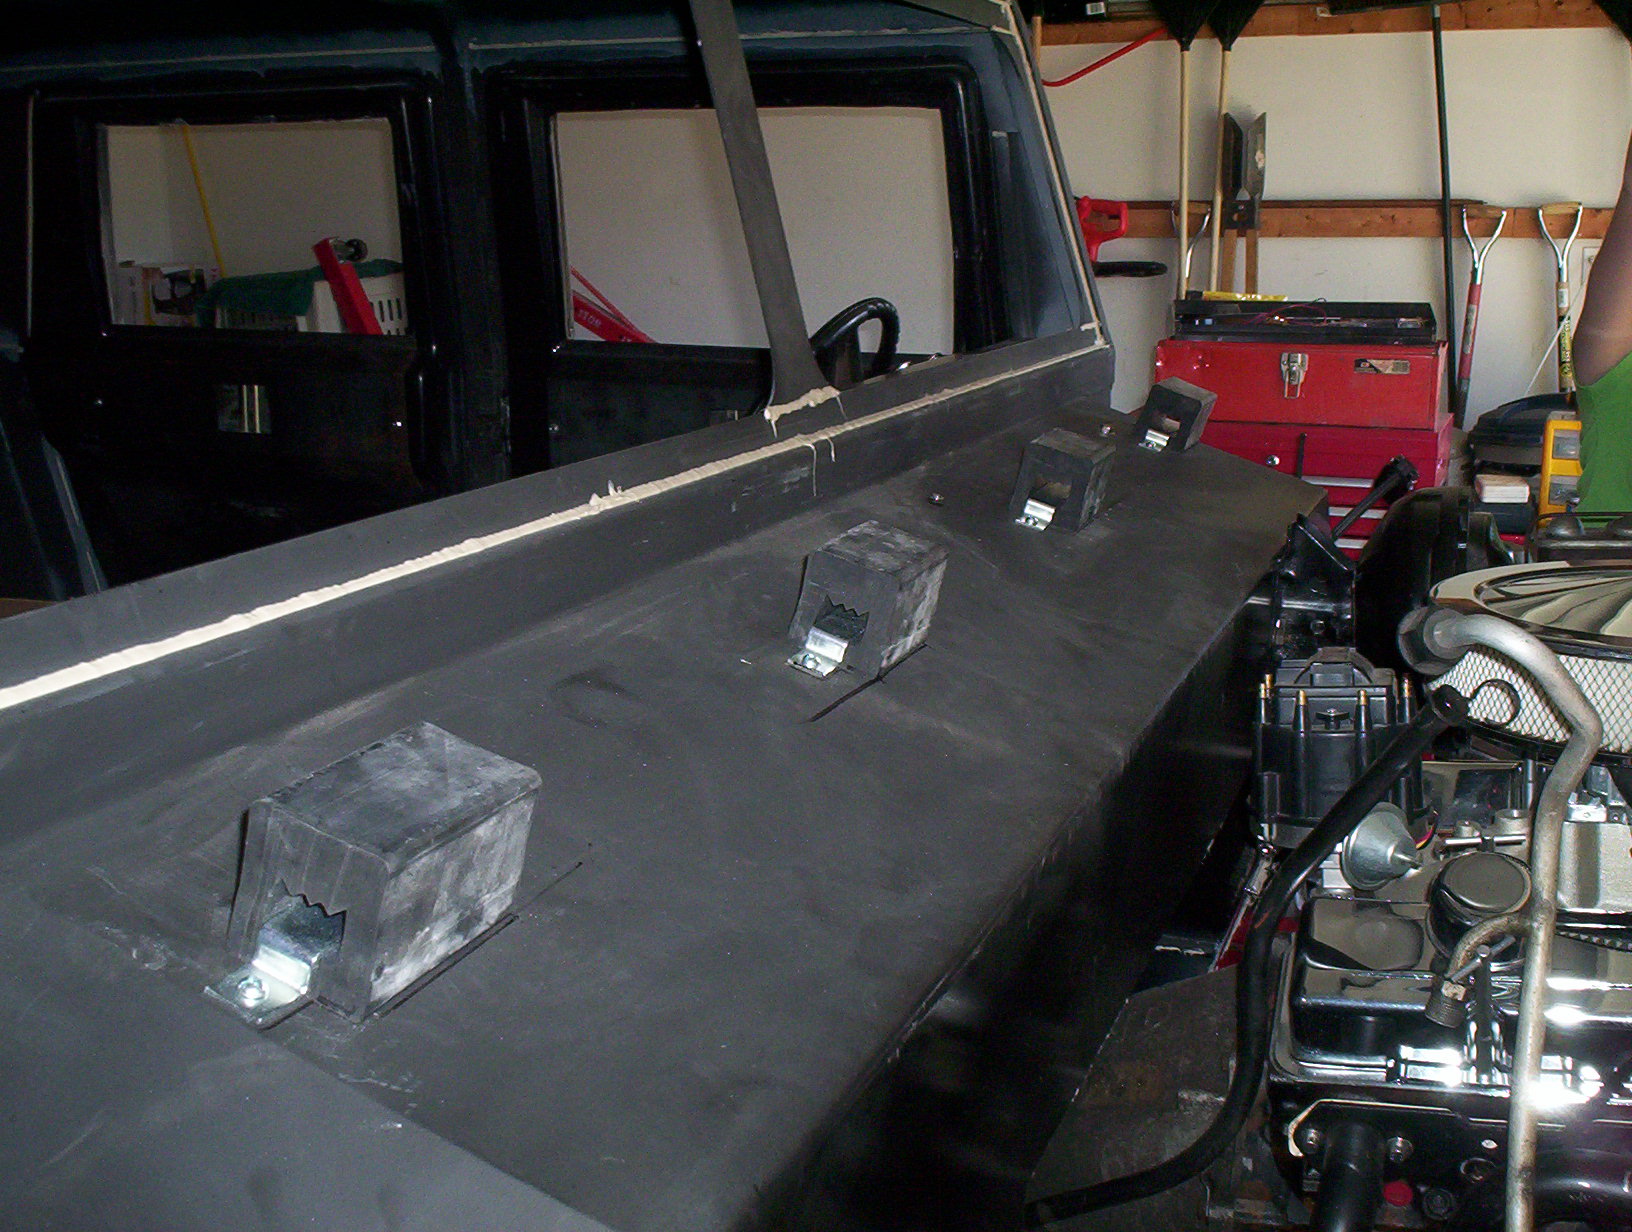
We had to cut a large section out of the hood and we designed side brackets to mount the radiator to the frame rails, just aft of the forward leaf spring shackle. 3/4-inch square tubing was used to hold the radiator at the right angle (approximately 48.5 degrees). We used stainless steel fasteners to mount the radiator to the truck's frame. We had very little clearance below the hood, so we added some shim blocks to the hood to boost the front end of the hood a total of 3/4". The photo to the left only shows one of the shim blocks.
The hood had a steel stiffener that ran the bottom interior length of the fiberglass front so the hinges could have something structural to attach to besides the fiberglass only. We aligned the stiffener and bumper shims with the hinges at the best place on the bumper, and drilled all the holes we needed. After the holes were drilled, the hood was bolted in place. On the firewall we added some commercial truck bumpers to give us the right elevation to rest hood. We them simply sighted-in the hood holding straps, drilled the holes in the body just aft of the wheels, and mounted the straps.
With the hood firmly in place, we used hole saws to drill-out the headlight and turning signal holes. After those holes were made we removed the hood, and used a saber to cut the grill openings.
Two wooden frames was made to mount some APC, Inc., polished aluminum wire mesh screens in order to protect the radiator. We bought the wire mesh through JC Whitney.
On the next page you can see the near-final hood configuration. It will get a bit more cosmetic work prior to painting.