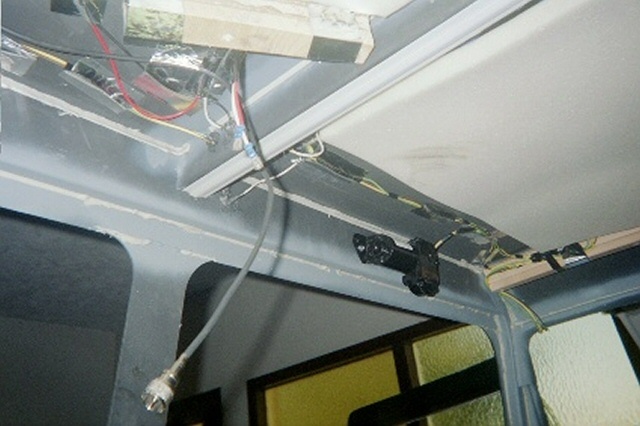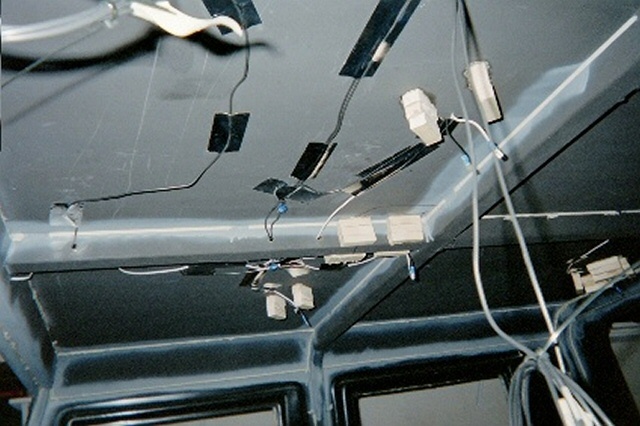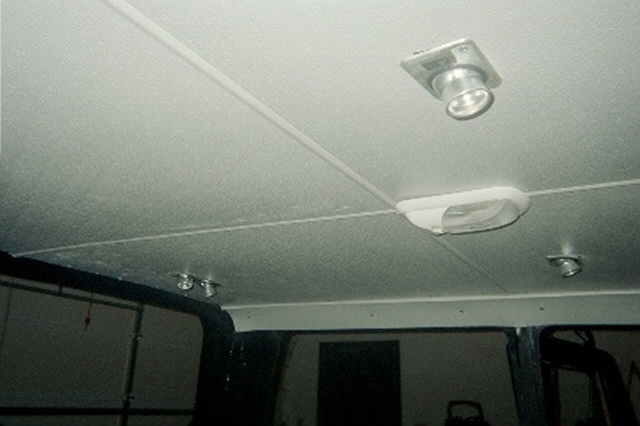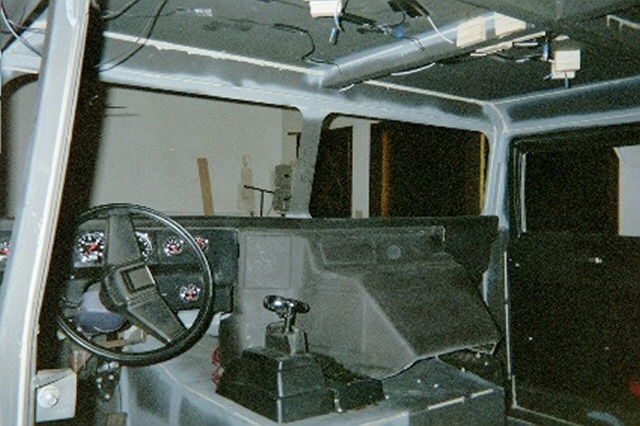
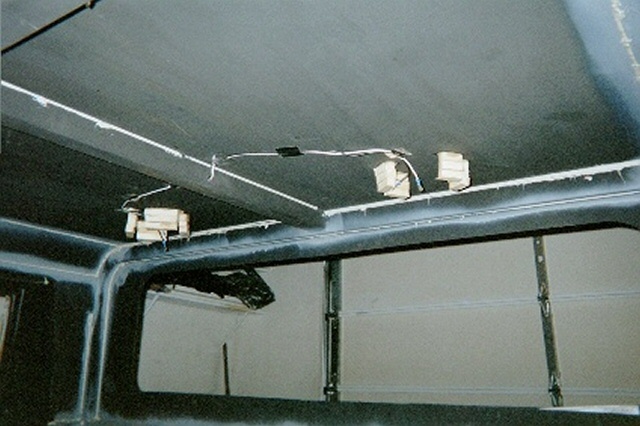
Next came our ceiling light electrical work and the headliner. We wanted some aesthetics in the interior, as well as some function. We decided that our ride needed a dome light, as well as reading lights. We took considerable time pondering the best way to suspend the lights, and what type of headliner we could make to look good. No way did we want a fabric headliner.
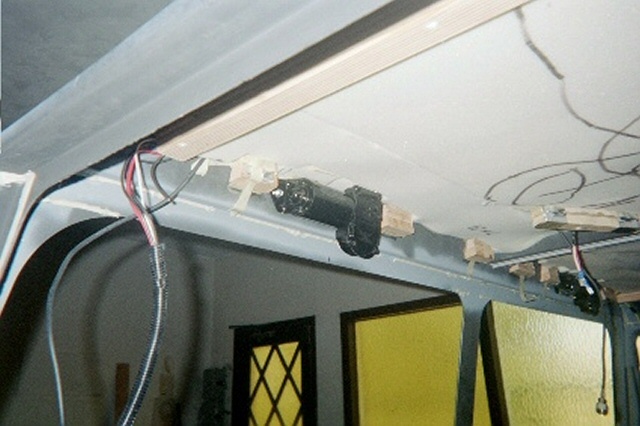
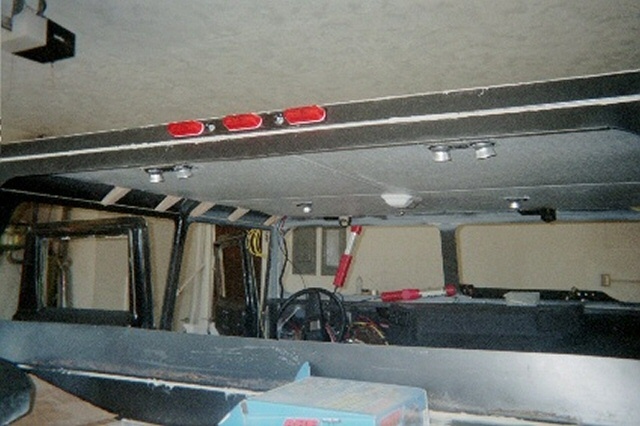
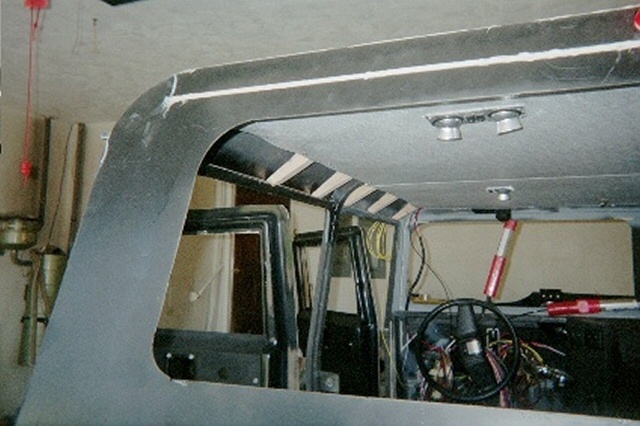
In the end, Bush Pilot's Badlands "Home Built Hummer" held sway over our decision. He installed very rugged and sharp plastic paneling in his truck, and it looked great! We went looking for similar stuff, and found that Lowe's had some fiberglass shower paneling that would look good as a headliner. Using industrial strength adhesives, we glued in several wooden blocks as light fixture bases, and the paneling molding tracks to hold up our ceiling. We ran the lighting wiring for the ceiling lights, dome lights and the exterior clearance lights. Then we installed 1" foam insulation, followed by 1" of OEM sound and heat insulations.
Before we leave the wiring too far behind in the discussion, it should be noted that we grounded the lighting circuits in the ceiling beams, and then used PVC caulk to prevent any sharp edges from wearing through the wire insulation.
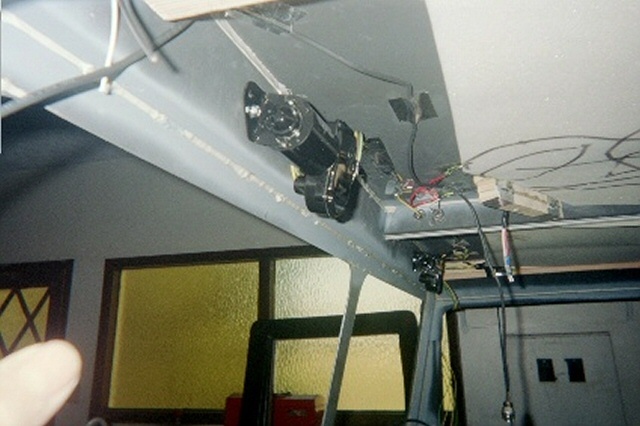
Next came the wiper motors. These were easy to install once we decided on a good location for the wiper shafts. This was a bit challenging until we took the wiper arms and blades, and simulated as best as we could, where the blade woud swipe the windshield halves. With that dilemma behind us, we drilled our pilot holes, and used our Uni-bit to open up nice smooth holes for the wiper motor shafts. Then we ran the wires from the motors to the switch, and the switch to the wiring harness buse block. Using our best electrical judgement, and no wiring diagram, we thought we did a good job.
With our family emergency electrical generator battery, we ran a test on the wiper motors and found that they didn't work properly. We called Cleveland Electrical, the manufacturer, and they explained that the wiper motors were self-parking, and that we needed to modify our wiring. They faxed us a wiring diagram that made all the difference in the world. Once rewired, a second test was run, and all was well.
Before we closed up the ceiling, we realized that we really wanted a ceiling mounted CB radio. We added another wood block for the radio, and ran power and antenna cables for the radio.
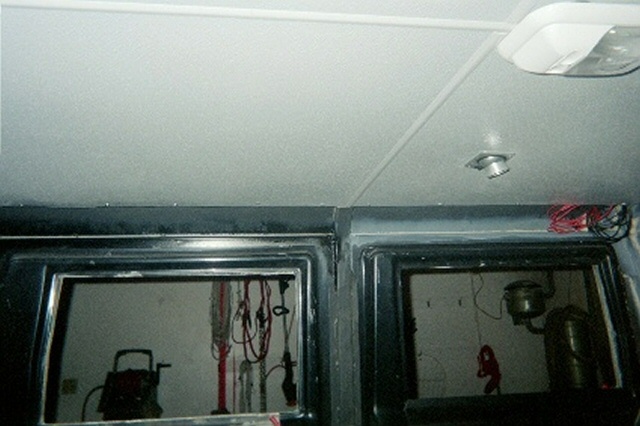
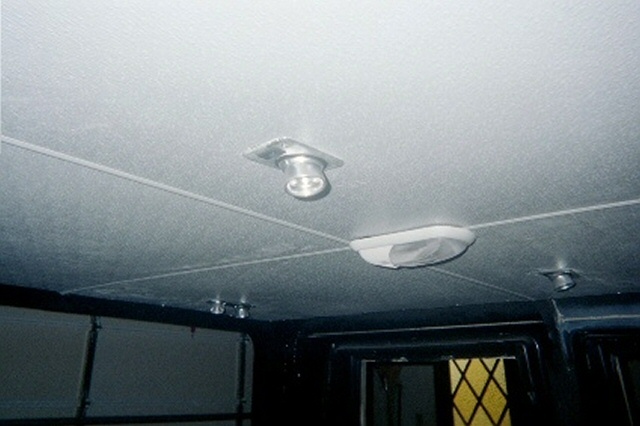
We cut our fiberglass panels with a saber saw, and the slid very nicely into the paneling tracks. We added screws into the wooden blocks running along the curved ceiling above the doors, and voila, we had a very nice gray ceiling. Both of the ceiling side panels were cut, and we added some molding between the main panels, and the side panels and the whole ceiling was complete.
Our reading lights and dome light came from the RV section of the JC Whitney catalog. We ran a test on our ceiling lights, and they all worked great.
Finally, after we complete the tear down, and painting of our project, we will add some insulation and paneling to the front interior windshield columns, left and right, to fully enclose all the structural metal up front. Along the rear window and rear ceiling pillars, we will add insulation and paneling there as well in order to heat insulate the truck, and reduce road noise.
